|
|
|
|
|
|
|||
|
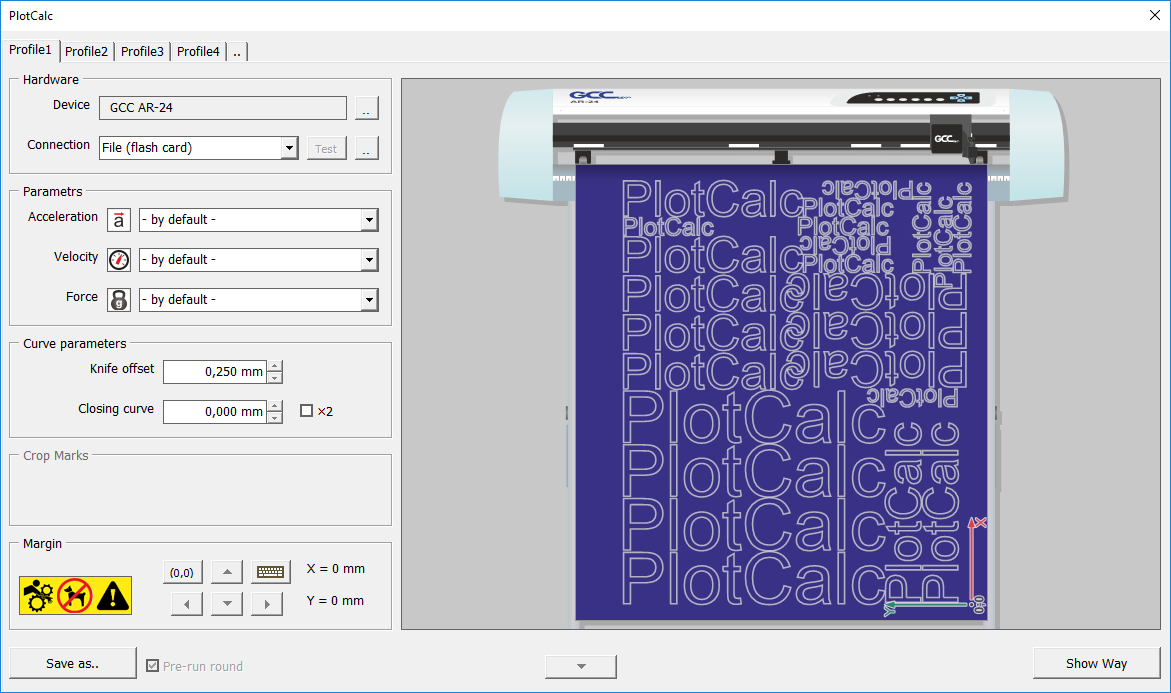
PlotCalc:
18.06.2026
PlotCalc 2026.06.18 [more..]
[SignKey] [all list] |
Vector drawing output to the vinyl cutter [back] 1. In CorelDRAW, select the vector drawing to be sent for cutting using the PlotCalc plugin. If there is a small text among the shapes, it is recommended to use Acceleration of sampling of extra tape around the cut figures beforehand.
2. Click the appropriate button on the PlotCalc toolbar and the following window will open:
3. Acceleration In the opened window select the acceleration value, for most vinyl cutters the acceleration parameter is unchangeable and is about 1 m/s² (for comparison, the acceleration of a free falling object on the ground is ≈ 10 m/s²), only a small number of vinyl cutters can change the acceleration. The lower the acceleration, the smoother, but also the longer the vinyl cutter runs. The list of accelerations to select itself can be customized here. 4. Velocity Select the optimum speed depending on the type of material. For example, for vinyl it is 200 mm/s. If you want to make a different speed for the lowered and raised blade of the vinyl cutter, double-click on Velocity and an additional parameter will appear:
You can customize the values for the velocity list here. 5. Force Set the pressure force on the film according to the type of material and cutting speed. For example, for vinyl it is 50 grams. Adjust the depth of cut so that the knife penetrates only the top layer of the film but not the backing, and the pressure so that the sliding surface of the knife element is at zero distance(r) from the film surface.
Setting the pressure too high may cause the film to jam or distort the geometry of the shapes. You can customize the list of force values here. 6. Knife offset If you are using a vinyl cutter with a vane-type knife, then specify a knife offset value to compensate for distortions in the geometry of the shapes. The actual offset value is indicated on the packaging of the vinyl cutter knife. You can also pick the correct offset value yourself, to do this download the file knife_offset.cdr and take it out for cutting:
A - the value is too large, you should reduce it; B - value is perfect; C - the value is too small, you should increase it. 7. Closing curve To improve line closure, you can extend the path by a specified amount. This function works only for figures whose height is greater than 30 mm.
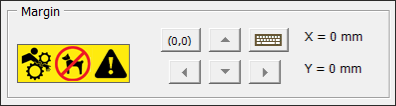
You can also enable the ×2 function, then each path will be traveled twice. 8. Margin WARNING! When using the indent functions, the vinyl cutter carriage will move.
(0,0) - move the carriage to the origin; ▲, ◄, ▼, ► - move the carriage up, down, left and right;
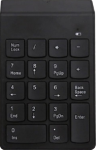
A separate numeric wireless keypad is recommended for convenience:
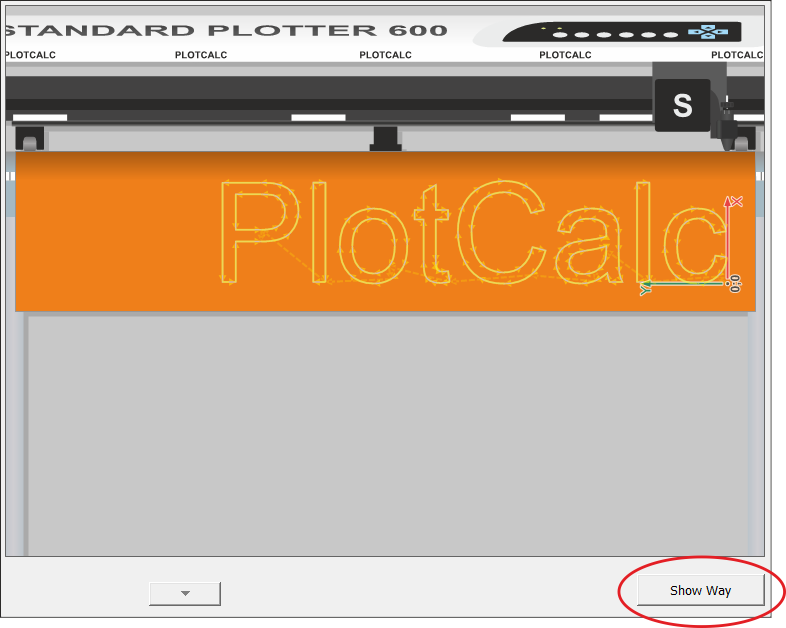
9. Show way To preview the path of the vinyl cutter blade, click the Show Path button. If you press the same button again, the speed of the path display will change:
dotted line - knife is raised; solid line - knife is down. PlotCalc optimizes the path so that the film advances gradually and the cutter carriage travels the minimum distance. The entry points and the direction of the path are changed in shapes with a height of more than 30 mm so that the entry point is as close as possible to the current carriage position. And in figures with height less than 30 mm, they are changed so that the entry angle corresponds to the exit angle as much as possible, which is relevant for vinyl cutter with vane type of knife. Optimization is also done in such a way that the inner contour is processed first and only then the outer contour. Before starting, you can enable the Pre-run round option, so that the vinyl cutter carriage goes around the dimensions of the output image. If the vinyl cutter does not warn about going outside the boundaries, then you can additionally enable the Set points when traversing the perimeter at the corners option.. 11. Run Click the Run button to output to the cutter via the driver, to the COM port or to the file. Press the corresponding down arrow button ▼ to call the console.
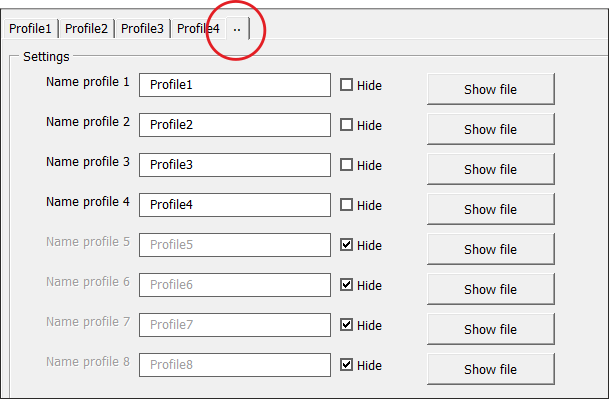
The console allows you to send HPGL or DMPL commands directly to the vinyl cutter. Enter a set of commands in the command line and press Enter, for example, HPGL commands: PR;PU0,4000; will send the carriage 100 mm along the OY axis in the relative coordinate system. Examples of commands PR; - switch the vinyl cutter to the relative coordinate system mode; PA; - switch the vinyl cutter to the mode with absolute coordinate system; PUx,y; - raise the knife and move it to point (x,y); PDx,y; - lower the knife and move it to the point (x,y); ARx,y,a; - cut the arc centered at the point (x,y) by an angle a. 13. Profile Setup To customize the profiles, click on the appropriate tab as shown below:
Profiles can be used as presets for different materials and for different devices. See also Selecting a vinyl cutter model from the list of supported models and presetting it |
||||||||||||||||||||||||||||||||||||||||||||
|
|||||||||||||||||||||||||||||||||||||||||||||